
What is a Kitchen Cornice? Everything You Need to Know
When it comes to adding those finishing touches to your kitchen design, one element that often gets overlooked is the kitchen cornice.
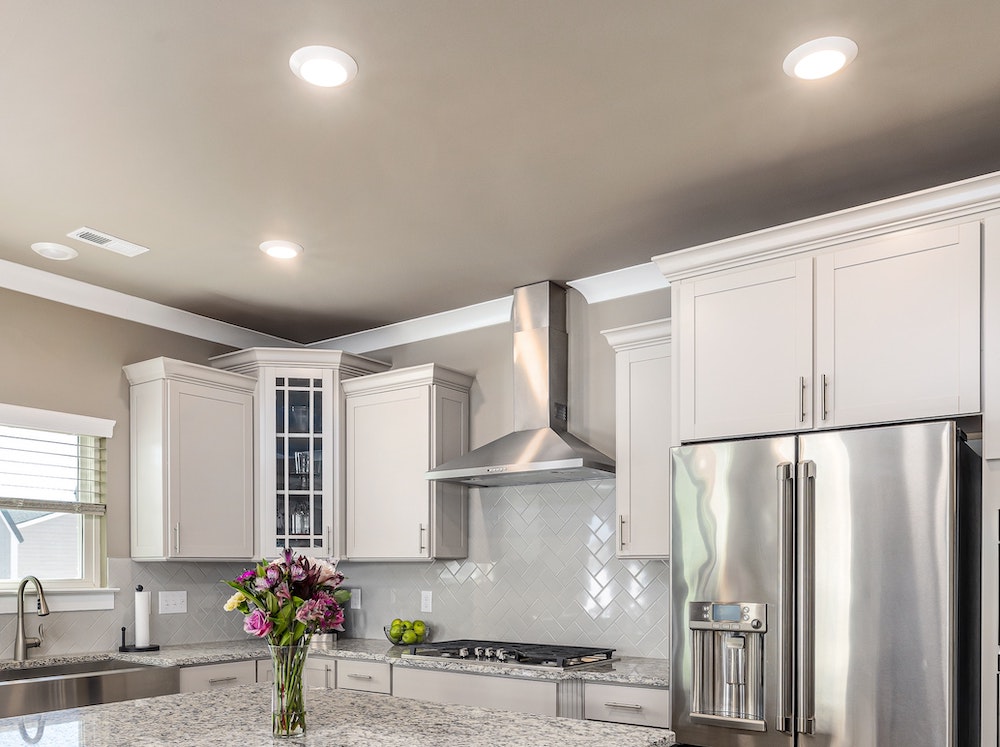
A kitchen cornice is a decorative moulding or trim that is installed at the top of kitchen cabinets to create a seamless transition between the cabinets and the ceiling.
Not only does it provide a polished and cohesive look to your kitchen, but it also serves practical purposes by concealing any gaps and adding a touch of elegance to the overall design.
In this post, we'll explore the various styles and options available for kitchen cornices, along with tips on how to choose the perfect cornice to enhance the aesthetic appeal of your kitchen.
Get ready to discover how this small but significant detail can make a big difference in the look and feel of your kitchen space.
Click here to see our range of DIY Kitchens Online from JMT Trade...
What Is A Kitchen Cornice?
A kitchen cornice is a decorative moulding or trim that is installed at the top of kitchen cabinets, typically where the cabinets meet the ceiling. It serves both aesthetic and functional purposes in kitchen design.
Aesthetically, a kitchen cornice adds a finishing touch to the cabinets, creating a seamless transition between the upper cabinets and the ceiling.
It helps to create a cohesive and visually pleasing look in the kitchen by concealing any gaps or unevenness that may exist between the cabinets and the ceiling.
Cornices come in various styles, designs, and finishes, allowing you to choose the one that best compliments your kitchen's overall aesthetic.
Functionally, a kitchen cornice helps to protect the tops of the cabinets from dust, dirt, and other debris that may accumulate near the ceiling.
It also adds a layer of insulation, preventing heat loss and reducing the risk of condensation forming on the cabinets.
Kitchen cornices can be made from a variety of materials, including wood, MDF (medium-density fiberboard), or plaster.
They may feature intricate patterns, curves, or be simpler in design, depending on the desired style and the overall theme of the kitchen.
Overall, a kitchen cornice is a small detail that can have a significant impact on the overall look and feel of your kitchen.
It adds a touch of elegance, hides imperfections, and enhances the overall aesthetic appeal of the space.
Whether you opt for a classic, contemporary, or custom-designed cornice, it's a worthwhile addition that completes the look of your kitchen cabinets and adds that finishing flourish to your kitchen design.
How To Cut Kitchen Cornices
Cutting kitchen cornices requires precision and careful execution to ensure accurate results. Here's a step-by-step guide to help you cut kitchen cornices:
- Measure and Mark: Begin by measuring the length of the wall where the cornice will be installed. Use a measuring tape to get an accurate measurement. Mark the cutting points on the cornice with a pencil based on your measurements.
- Choose the Right Tools: To cut kitchen cornices, you will need the appropriate tools. A mitre saw or a compound mitre saw is commonly used for making precise angled cuts. Ensure that the saw is set at the correct angle for the type of cut you require.
- Set Up the Mitre Saw: Adjust the mitre saw according to the desired angle of the cut. This will depend on the specific design and installation requirements of your kitchen cornice. Double-check the angle to ensure accuracy.
- Secure the Cornice: Place the cornice securely on the mitre saw's base. Ensure that it is firmly held in place to prevent any movement during the cutting process. Use clamps or a vise if necessary.
- Make the Cut: With the cornice securely in place, carefully lower the saw blade onto the marked cutting point. Activate the saw and make the cut in a smooth and controlled manner. Follow the marked line precisely to achieve an accurate cut.
- Test the Fit: After making the cut, test the fit of the cornice against the wall and adjacent pieces. Ensure that it aligns properly and sits flush with the adjoining sections. Make any necessary adjustments by trimming or sanding the cut edges if required.
- Repeat the Process: If you need to cut multiple sections of the cornice, repeat the above steps for each piece, ensuring consistent angles and lengths.
- Finishing Touches: Once all the cuts are made and the cornice pieces fit properly, you can proceed with installation. Secure the cornice to the cabinets using appropriate screws, adhesive, or brackets, following the manufacturer's instructions.
Remember, cutting kitchen cornices requires precision and attention to detail.
If you're unsure about handling power tools or making accurate cuts, it's recommended to seek the assistance of a professional carpenter or installer who has experience with cutting and installing cornices.
This will ensure a flawless and safe installation that enhances the overall look of your kitchen.
How To Fix a Cornice To Kitchen Units
Fixing a cornice to kitchen units requires careful installation to ensure a secure and seamless attachment.
Here's a step-by-step guide to help you fix a cornice to your kitchen units:
- Preparation: Before beginning the installation, ensure that the cabinets and the area where the cornice will be attached are clean and free from dust or debris. This will provide a better surface for adhesion.
- Measure and Mark: Measure the length of the cabinets where the cornice will be fixed. Mark the desired position on the cabinets using a pencil. Make sure the markings are level and aligned with the cabinets.
- Cut the Cornice: If necessary, cut the cornice to the appropriate length using a miter saw or a compound miter saw. Ensure that the cuts are precise and align with the measurements and angles required for your kitchen.
- Attach the Cornice: Apply a suitable adhesive to the backside of the cornice, following the adhesive manufacturer's instructions. Position the cornice onto the marked area of the cabinets, aligning it properly. Apply gentle pressure to ensure good adhesion.
- Secure with Screws: To provide additional support and stability, you can use screws to secure the cornice. Drill pilot holes into the cornice and into the cabinets, making sure the holes align properly. Insert screws into the holes and tighten them gently to avoid damaging the cornice or cabinets.
- Check for Alignment: Once the cornice is attached and secured, step back and check its alignment. Ensure that it sits evenly and is aligned with the cabinets and the ceiling. Make any necessary adjustments if needed.
- Fill and Smooth: If there are any gaps or unevenness between the cornice and the cabinets, use an appropriate filler to fill in the gaps. Smooth out the filler with a putty knife or sandpaper to achieve a seamless and finished appearance.
- Paint or Finish: If desired, you can paint or finish the cornice to match the overall kitchen decor. Use suitable paint or finishing materials according to the cornice material and the desired finish.
It's important to follow the manufacturer's instructions for both the adhesive and any screws used during the installation process.
If you're uncertain about your DIY skills or the specific requirements of your kitchen, it's recommended to consult a professional for assistance.
They can ensure a proper and secure installation of the cornice, enhancing the overall aesthetic of your kitchen.
How Much Do Cornices for Kitchens Cost? And Where Can You Buy Them?
The cost of cornices for kitchens can vary depending on factors such as the material, design, brand, and supplier.
As with any home improvement product, prices can range from affordable to more expensive.
In general, kitchen cornices are available in a wide price range.
Basic cornices made of materials like MDF (medium-density fiberboard) or PVC can start from around £10 to £20 per linear metre.
Cornices made from higher-quality materials like solid wood, plaster, or decorative resin can range from £20 to £50 per linear metre or more, depending on the intricacy of the design and the brand.
At JMT, we take pride in offering a diverse range of cornices that cater to various styles and finishes.
Our collection includes the Aldana Graphite range, available in both Ash and Ash Painted finishes.
The frame material is crafted with high-quality Ash, ensuring durability and a sophisticated look.
With a door thickness of 20mm and an edge colour that matches the face, these cornices seamlessly blend with your kitchen design.
The reverse colour also matches the face, adding a cohesive touch to the overall aesthetic.
In addition to the Aldana Graphite range, we also feature the Wakefield range, which boasts a 5-piece solid Ash frame with an internal bead and an Ash Veneer centre panel.
The Ash Painted finish enhances its elegance. With a frame width of 93mm and a door thickness of 20mm, these cornices exude charm and craftsmanship.
Like our other options, the edge colour aligns with the face, and the reverse colour matches for a harmonious appearance.
We understand that everyone has unique preferences when it comes to cornices.
That's why we offer a bespoke service, allowing you to create a personalised cornice that is made to measure.
With our comprehensive range and the option for customization, we have all your cornice needs and desires covered from A to Z.
So if you’re looking to elevate the style and functionality of your kitchen.
Our team is always ready to assist you in finding the ideal cornice solution that fits your taste and requirements.
Can You Buy Fitted Kitchens Online?
Yes you can buy fitted kitchens online and you are in the perfect place to do so!
Here are JMT Trade we have been manufacturing kitchens in-house for over forty years.
You can use our website to buy your own custom designed, dream kitchen.
Or quality is second to none, we pride ourselves in our customer service and our prices are kept low as you are buying direct from the manufacturer with no middle man bumping up the price.
With ranges from Zola, Strada, Aldana all the way up to the Netherby range which is our budget friendly premium range.
Our handcrafted kitchens can be customised to fit any shape or size of room, with gloss or matt finish, you have a hundred different colour schemes to choose from.
Check out this link to see our range of complete kitchens for sale online UK…
Final Notes On Kitchen Cornices
Kitchen cornices are crucial additions to your kitchen cabinets, enhancing their aesthetic and functionality.
They can range in cost from £10 to £50 per linear metre or more, based on factors like material, design, brand, and where they are bought.
When choosing your cornices, consider the durability of the material, the ease of installation, and the design's congruity with your kitchen.
Weighing the cost against the quality will help in making a satisfactory purchase.
Selecting and fitting the right kitchen cornices can elevate the look of your kitchen, making it a stylish space that reflects your personal taste.
More Useful Blog Posts From the JMT Kitchen Blog
- What Is An Upstand In A Kitchen?
- What is a Plinth in a Kitchen?
- What is a Kitchen Pelmet?
- What Is A Bespoke Kitchen?
