
How to Clean a Waste Disposal Unit
In the bustling heart of many modern kitchens lies a silent hero: the waste disposal unit.
While it tirelessly grinds away our food scraps, keeping our sinks clear and odours at bay, it too requires a little TLC to function optimally.
Like any kitchen appliance, regular maintenance ensures longevity and efficiency.
If you've ever wondered about the best way to give your disposal unit a thorough cleanse, you're in the right place.
Join us as we dive into a step-by-step guide on how to keep your waste disposal unit sparkling clean and running smoothly.
Click here if you are interested in a kitchen sink waste disposal unit...
How to Clean a Waste Disposal Unit
Cleaning a waste disposal unit is essential for its longevity, efficiency, and odour prevention.
Regular maintenance can also prevent potential clogs or malfunctions. Here's a simple guide to ensure your unit stays in top condition:
1. Safety First:
Always ensure the unit is turned off before you start any cleaning. Never place your hand inside the unit.
2. Freshen with Citrus:
Drop in a few citrus peels (lemon, orange, or grapefruit) and run the disposal with cold water.
The citric acid helps to clean the blades, and the peels leave a refreshing scent.
3. Ice Cube Scrub:
Ice cubes can help in cleaning off any debris stuck to the blades.
Pour a cup of ice cubes into the disposal, then turn it on.
The ice will help dislodge any food particles, and as a bonus, it'll also sharpen the blades.
4. Baking Soda and Vinegar:
Pour half a cup of baking soda into the disposal, followed by a cup of white vinegar.
Allow the mixture to fizz and sit for 15-20 minutes.
This will help in loosening grime and neutralising odours.
Flush it out by running cold water and turning on the disposal.
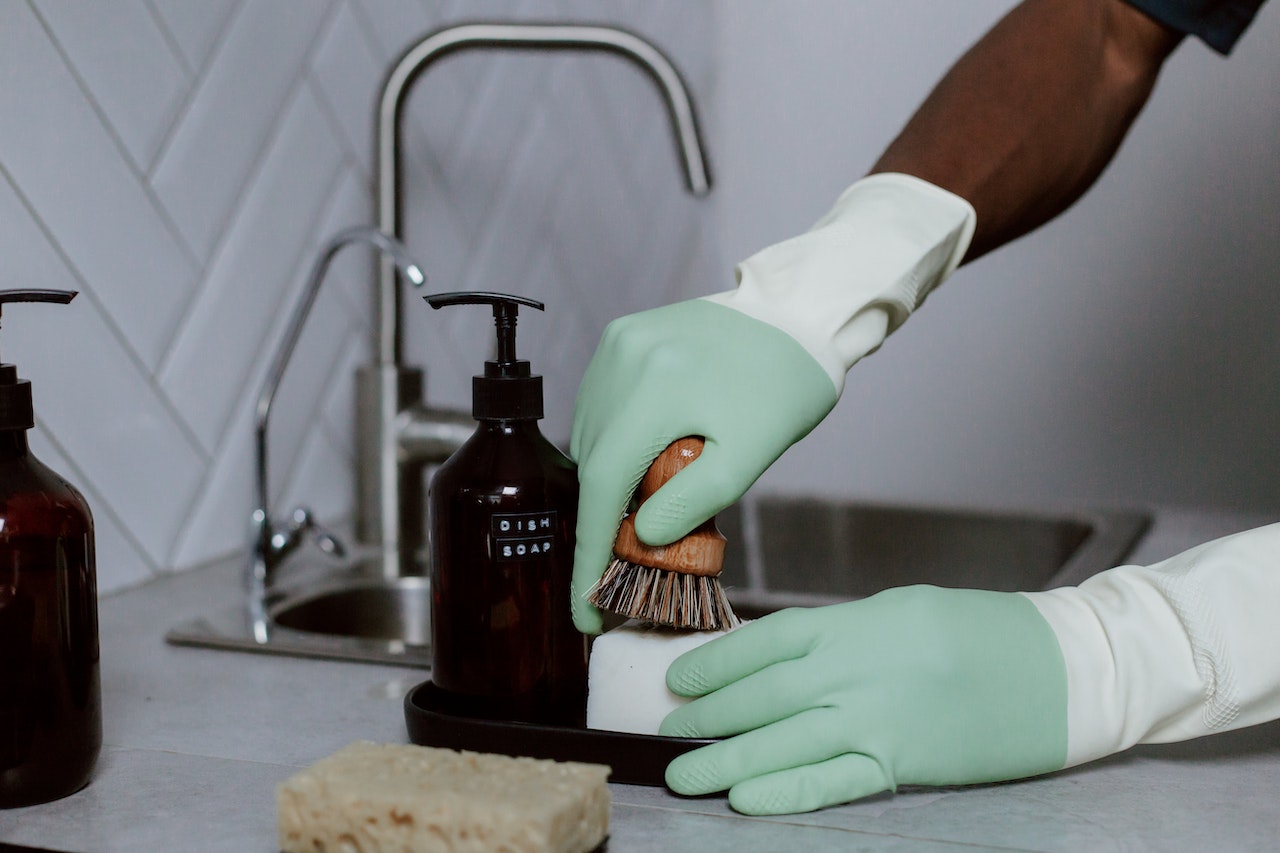
5. Scrub the Visible Portion:
With the unit turned off, scrub the visible part (the entrance) of the disposal with an old toothbrush or a scrubbing brush.
This can remove any lingering particles or residue.
6. Cleaning the Drain Trap:
Occasionally, it's a good idea to clean the trap located beneath the disposal unit.
Turn off the power, place a bucket beneath the pipes, and carefully remove the trap.
Use a brush to scrub away any accumulated debris before reattaching.
7. Flush with Soap:
As a final step, squirt a bit of dish soap into the disposal, then run cold water and turn on the unit. This will help wash away any remaining debris and leave a pleasant scent.
8. Regular Maintenance:
Remember, prevention is better than cure.
Try to run your disposal unit regularly to prevent rusting, and always use cold water (hot water can melt fats, causing clogs).
Note: Avoid using harsh chemicals or bleach in your disposal.
These can damage the unit and are not environmentally friendly.
By incorporating these steps into a regular cleaning routine, you can ensure your waste disposal unit remains efficient, odour-free, and has a longer lifespan.
Click here to see our range of InSinkErator waste disposal units…
How to Unblock a Waste Disposal Unit
Unblocking a waste disposal unit is a task that most homeowners will encounter at some point.
If your unit is humming but not grinding or if water is not draining, it's likely clogged.
Follow these steps to safely and effectively unblock your waste disposal unit:
1. Safety First:
Always start by turning off the power to the disposal unit.
For added safety, unplug it from the electrical outlet or turn off the circuit breaker.
Never place your hand inside the unit.
2. Check for Visible Obstructions:
Using a flashlight, inspect the inside of the disposal.
If you see any large, non-food items or objects (like utensils, bones, or toys), carefully remove them using pliers or tongs.
3. Manual Rotation:
Most disposal units come with an Allen wrench or hex key specifically designed for them.
Find the hole at the bottom centre of the disposal (underneath your sink).
Insert the wrench and turn it left and right a few times.
This manual rotation can help to free up any obstructions inside.
4. Use a Plunger:
If the blockage seems to be deeper in the drain, use a sink plunger.
Fill the sink with a few inches of water (enough to cover the plunger's rubber part).
Place the plunger over the drain and make sure it has a good seal.
Push down and pull up vigorously several times to create suction and push the blockage out.
5. Check the Drain Trap:
The trap is the U-shaped pipe located beneath the disposal unit.
Place a bucket underneath to catch any water or debris. Unscrew or detach the trap, and check for any obstructions.
Clear out any debris and then reattach the trap.
6. Back to Basics:
Once you believe the blockage is cleared, plug the disposal back in or restore the power via the circuit breaker.
Run cold water and then turn on the disposal to check if it's functioning correctly.
Cold water helps solidify any fats or oils, making them easier for the disposal to grind up.
7. Maintenance and Prevention:
To prevent future clogs, avoid disposing of fibrous materials (like celery or corn husks), coffee grounds, and fats/oils in the unit.
Regularly running cold water and the disposal even when not disposing of food can also help keep it clear.
If you've tried these steps and the disposal is still not working or frequently gets clogged, it may be time to call a professional or consider replacing the unit.
Some Advice From an Expert Kitchen Fitter
Drawing from my experience fitting kitchens, maintaining a clean waste disposal unit is paramount.
A well-maintained unit operates more efficiently, reducing the chances of jams or malfunctions.
It also curbs unpleasant odours, ensuring your kitchen remains fresh and hygienic.
Over time, accumulated debris can strain the motor and shorten the disposal's lifespan.
Regular cleaning not only safeguards the unit's functionality but also extends its service life, saving homeowners potential repair or replacement costs.
Ultimately, a clean waste disposal unit enhances kitchen hygiene, ensures seamless operation, and offers long-term savings.
It's a simple task that pays dividends in performance.
Some Final Notes On How to Clean Your Waste Disposal Unit
A waste disposal unit is an unsung hero in the realm of kitchen utilities, streamlining our daily chores and ensuring a hygienic environment.
Its efficiency, however, largely depends on the care and maintenance it receives.
As with all machinery, regular attention preserves its lifespan and optimises performance.
The steps outlined above, from routine cleaning to unblocking, are integral for its upkeep.
Remember, just as you wouldn't neglect a car's regular service, your waste disposal unit also deserves timely maintenance.
By adopting these cleaning habits, you not only protect your investment but also enjoy a hassle-free, odourless, and efficient kitchen experience.
Some More Help Blog Posts from the JMT Trade Blog:
- Waste Disposal Units Pros And Cons in the UK
- What is a Waste Disposal Unit? A Complete Guide
- Are Waste Disposal Units Environmentally Friendly?
