
How to Fit a Kitchen Sink Step by Step
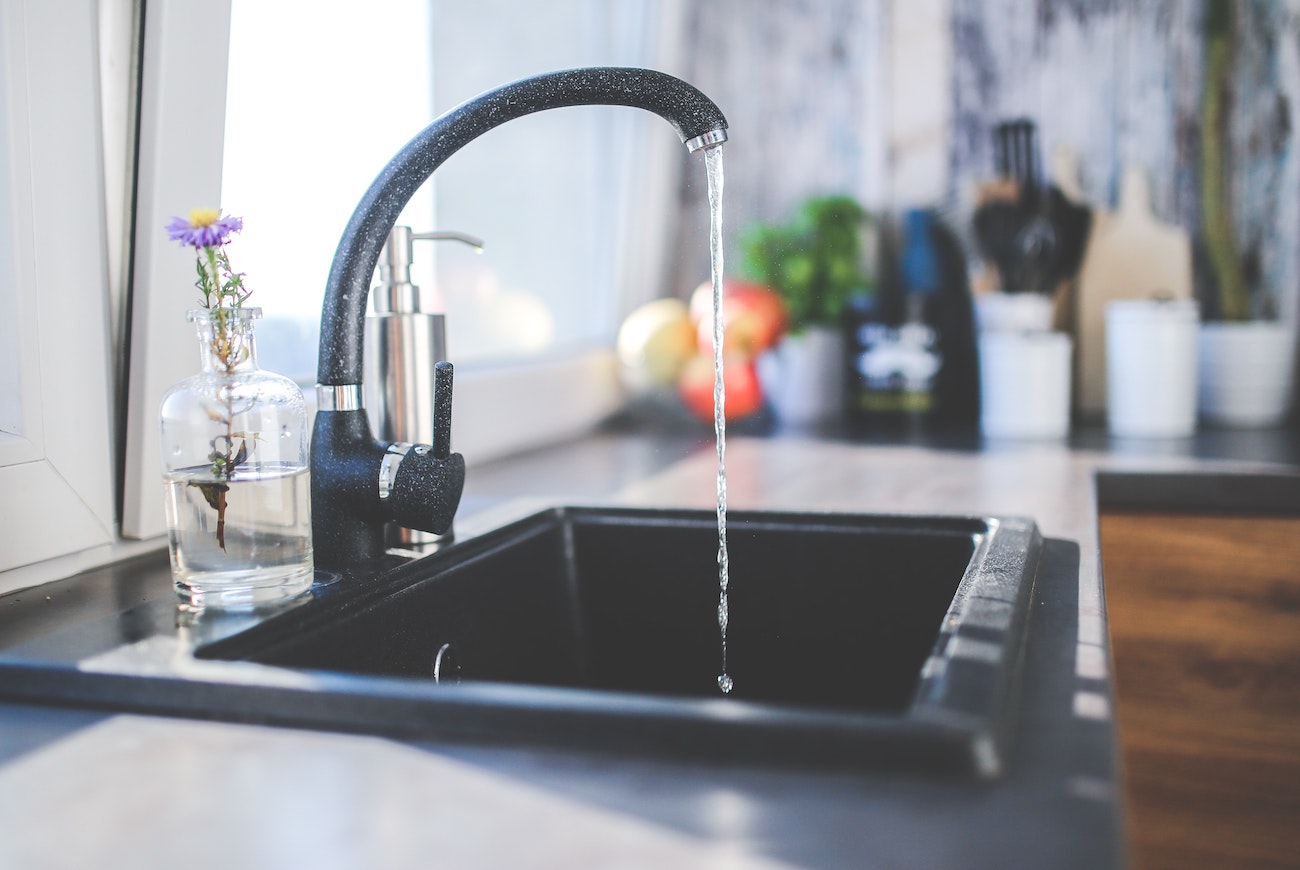
In this post we will look at how to fit a kitchen sink safely and some of the things you ought to consider before removing a sink.
So, get ready, roll up your sleeves and have your rusty adjustable wrench on standby.
Because we’re about to unleash your inner DIY hero!
We'll start by exploring the different types of sinks available, helping you choose the perfect one to suit your style and needs.
How to Fit a Kitchen Sink Step By Step
Step 1: Measure with Care to Avoid Mistakes
First things first, measure the cabinet opening accurately to ensure your new sink will fit like a dream.
It's a very good idea to measure twice just to be on the safe side (trust me on this one, I learned the hard way!)
Take you time and measure everything twice before cutting and drilling.
Step 2: Remove the Old Sink
Remove the old sink by disconnecting the plumbing underneath and unfastening any clips or brackets that are holding it in place.
Make sure you do a good job of turning off the water supply so you don't suffer from any leakages.
After that, you can gently lift the old sink out and make sure you remove any silicone that’s been left behind.
Step 3: Install Your New Sink
Now, gently position your new sink into the opening.
It should align perfectly with the counter-top and rest level.
Make any necessary adjustments to get it just right.
(Click here to see our range of kitchen sinks for sale).
Step 4: Fasten the Sink to the Kitchen Worktop
Next, secure the sink in place by attaching the clips or brackets underneath the sink.
This will help keep it steady and secure, so take your time and make sure it well fixed.
Step 5: Connect the Plumbing to the Sink
This step involves connecting the drain pipes and water supply lines back to the sink.
Do ensure everything is secured properly to prevent any leaks.
Step 6: Seal Up the Edges Around the Sink
Seal the edges of your sink with a waterproof silicone to prevent water from getting into any spaces. T
This gives a neat, professional finish and prevants any drainage leakages.
Step 7: Check Your Work Carefully
Finally, it's time to test your work. Turn on the water and see your new kitchen sink in action.
Check for any leaks or drips and correct any issues immediately.
And there you have it!
DIY fitting a kitchen sink isn't as daunting as it seems, especially when you break it down step-by-step.
Remember, if in doubt, always consult with a professional plumber or kitchen fitter.
(Click here to see our complete range of kitchen taps for sale online).
How to Remove a Kitchen Sink Step-By-Step
Step 1: Gather Your Tools
Before you start, gather all the necessary tools.
You'll need a wrench, a hammer, some pipe grips, some screwdrivers and a bucket to catch any water, and perhaps some rags to clean-up any spillages.
Step 2: Shut Off the Water Supply
Locate the water valves beneath the sink.
Turn them clockwise to shut off the water supply to the sink.
Check your taps to ensure that the water supply is fully off.
Step 3: Disconnect the Plumbing
Place a bucket under the pipes to catch any water that might spill.
Use your wrench to disconnect the water supply lines and drain pipe.
Be careful not to damage any of the pipes, take your time over this, there is no rush!
Step 4: Loosen the Sink From the Worktop
Use a screwdriver to loosen any clips or screws that are securing the sink to the counter-top.
If your sink is caulked to the counter-top, you'll need to cut through the caulk with a utility knife.
Go gently as you want to avoid scratching, marking or damaging the work-top.
Step 5: Lift Out the Sink
Now that everything is disconnected and loosened, carefully lift the sink out from the counter-top.
This might be a two-person job if the sink is heavy and you should wear thick gloves to protect your hands.
Step 6: Clean the Area Where the Sink Was
Finally, clean the area where the sink was to remove any old caulk or debris.
This will ensure a smooth installation process if you're planning to fit a new sink.
And there you have it, a step-by-step guide to removing a kitchen sink.
Remember to take your time, be safe, and always call in a professional if you're unsure.
How Long Does it Take to Fit a Kitchen Sink?
In practical terms, the process of fitting a kitchen sink typically takes around 1 to 2 hours.
Please note that this is an average estimation and the actual duration can vary depending on your DIY skills, the specific sink design, and the complexity of your plumbing setup.
As a recommendation, always allow extra time for unforeseen challenges or complications.
It's better to be pleasantly surprised with time left over than running over schedule.
Is it Safe to DIY Install a Kitchen Sink?
You can absolutely fit a kitchen sink by yourself, provided you're equipped with a good set of tools, the right protective gear, and a solid understanding of the task at hand.
A few things to consider though: you'll need to be comfortable with basic plumbing and carpentry skills, as this job includes disconnecting and connecting pipes, using power tools, and manipulating bulky items.
In the case of any doubt or if your sink requires complex plumbing work, it's definitely safer and wiser to call in a professional plumber.
Can You Buy Kitchen Sinks Online?
Yes you can buy them here direct from our website and the very best possible prices.,
And this includes our exclusive 1810 range of kitchen sinks.
The 1810 range is a UK based company which offers a great range of sinks in all different sizes and shape and finishes.
We have the Belfast sink which is your more traditional sink.
Click here to take a look at our Belfast Sinks.
Then there’s the undermount sink which sits underneath the worktop giving you a nice sleek smooth finish.
This particular range comes in various styles and finishes that will make your kitchen pop.
Check out our undermount sinks here.
We also have the inset sinks, which sit on top of your worktop, these come in various styles, colours and finishes.
Take a look at our inset sinks on this link.
Along with the inset sinks we have the gorgeous fireclay sinks which give your kitchen that rustic look and appeal
Checkout these fireclay kitchen sinks.
Or you can experience a dash of vintage elegance in your kitchen with the beautifully polished ceramic undermount sink.
Its unobtrusive finish seamlessly integrates with your kitchen's aesthetic, offering a timeless touch of class.
Click here to see our ceramic undermount sinks.
Click here to see the full 1810 range.
Tips From an Expert Kitchen Fitter On Fitting a Kitchen Sink
In my experience when fitting your kitchen sink it’s important that not only do you get the right colour and finish but you also need to think carefully about what type of sink would be best for your kitchen.
Are you looking for a single basin or dual basin?
Is your dry board on the left or the right?
Do you need an inset or undermount sink?
These are the details which make all the difference when selecting the right sink for your kitchen, get this wrong and it can be expensive.
Final Notes On How to Fit a Kitchen Sink
When thinking about fitting a kitchen sink, it's essential to understand the variety of sink styles that are available.
This includes undermount, top-mount, and farmhouse styles, each of which has unique installation needs and aesthetic results.
A key decision you will need to make is whether to undertake the installation yourself or hire a professional.
This will largely depend on your confidence and skill in DIY tasks, as more complex installations can often require professional expertise.
One thing that is often underestimated is the amount of time it takes to fit a sink.
Depending on the intricacies involved, it could range from a few hours to the entirety of a day.
It's important to be aware of potential plumbing and structural issues that could emerge during the installation process.
Lastly, the aesthetic of your sink should align with the overall design of your kitchen.
For instance, an undermount sink can bring a neat, retro appeal to your space.
Always make sure the sink you choose enhances and complements your kitchen's style.
