
How To Fit a Glass Splashback to a Wall
Welcome to our step-by-step guide on "How to Fit a Glass Splashback to a Wall".
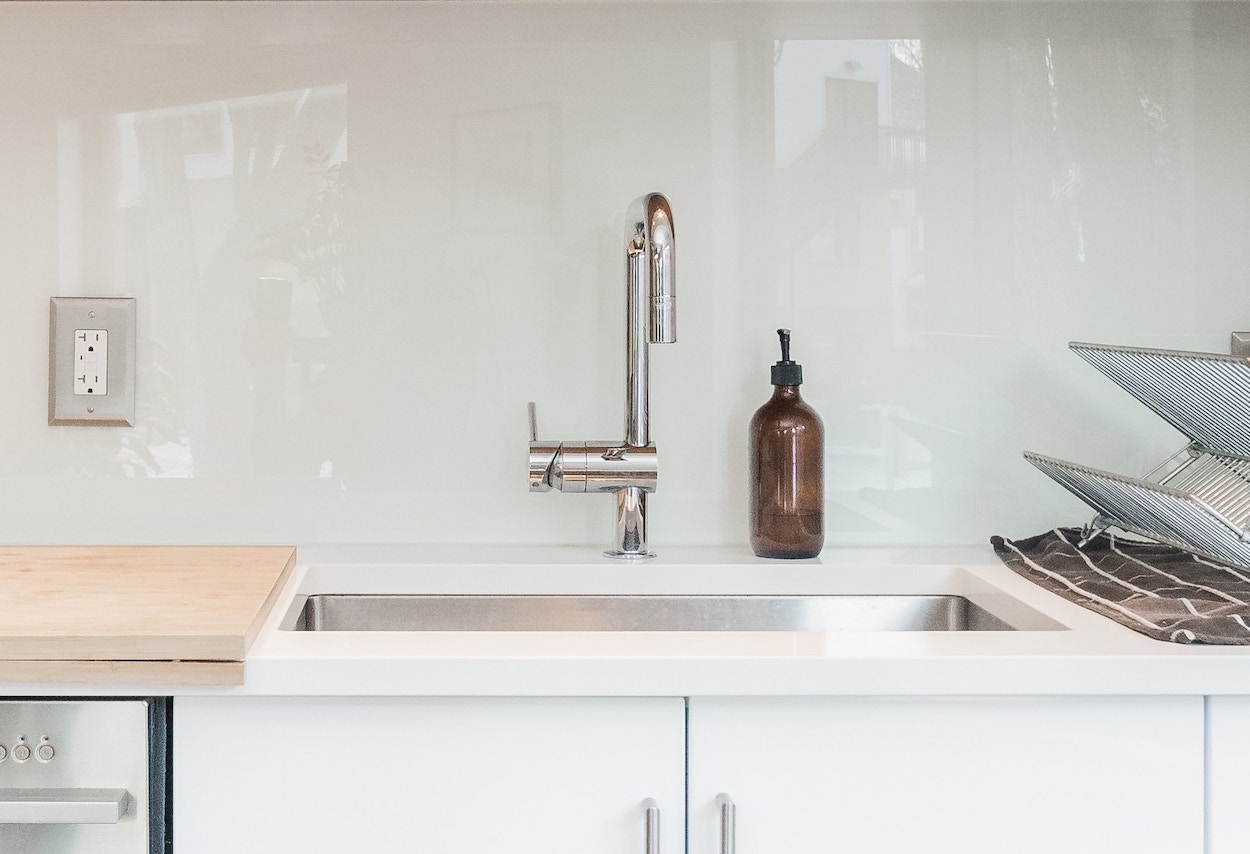
Whether you're embarking on a complete kitchen makeover or simply adding a fresh feature to your existing space, a glass splashback can create a sleek and modern look that is both practical and stylish.
However, the installation process may seem a little daunting if you've never done it before.
In this post, we'll walk you through the process of fitting a glass splashback to your wall, offering detailed instructions and handy tips to help you achieve a professional finish.
From choosing the right tools to prepping the wall and securing the splashback, we've got you covered.
Click here to see our range of aluminium splashbacks from Alusplash.
How To Fit a Glass Splashback to a Wall Step-by-Step
Materials Needed:
- Glass Splashback
- Clear Neutral Cure Silicone and Caulking Gun
- Glass Cleaner
- Clean, Soft Cloth
- Tape Measure
- Spirit Level
- Painter’s Tape
Step 1: Prepare Your Workspace
Before you start, ensure that the wall where you're going to fit the splashback is clean, dry, and free from grease or dust.
This will help the silicone adhere better.
Also, remove any switches or sockets from the wall where the splashback will be installed.
Step 2: Measure the Area
Measure the area where you want to install the splashback.
Be sure to check the measurements against the size of your glass splashback to ensure a correct fit.
Remember if in doubt always doulbe check your measurements before you cut.
Step 3: Apply the Silicone
Now it's time to apply the adhesive.
Using a caulking gun, apply a clear neutral cure silicone to the back of your glass splashback.
You should apply the silicone near the edge of the splashback but not too close, as you don't want it to ooze out when it's pressed against the wall.
Also, apply some silicone in a zig-zag pattern across the centre of the splashback.
Step 4: Position the Splashback
With the help of another person if necessary, lift the splashback, carefully align it with your marked lines, and press it against the wall.
The silicone will hold it in place, but you should also use painter’s tape to secure it while the adhesive dries.
Step 5: Check the Level
Use a spirit level to ensure the splashback is straight.
Make any necessary adjustments before the adhesive dries.
Step 6: Seal the Edges
Once the splashback is secured and level, apply a bead of silicone along the edges where the glass meets the worktop and the wall.
This helps to waterproof the area and provides a clean finish.
Step 7: Clean the Splashback
Finally, use a glass cleaner and a soft cloth to clean your new splashback and remove any fingerprints or smudges.
Leave the splashback for 24 hours to allow the silicone to cure completely.
Please note: Be aware that this guide assumes that your splashback has already been cut to size, and any necessary holes have been made for sockets or switches.
Also, remember to handle the glass splashback with care to avoid injury.
And there you have it!
With some careful preparation and precise application, you've successfully fitted a glass splashback to your kitchen wall, adding both style and practicality to your cooking space.
Related Post: How To Fit A Splashback Over Tiles
How Hard is it to Install a Glass Kitchen Splashback?
Installing a glass kitchen splashback is considered a moderate DIY project.
The difficulty level isn't extremely high, but there are several factors that can influence how challenging you may find the task:
- Experience Level: If you're comfortable with home improvement projects and have done similar tasks before, you may find installing a glass splashback relatively straightforward. On the other hand, if you're not very experienced with DIY projects, it might pose a bit of a challenge.
- Precision: One of the critical aspects of fitting a glass splashback is the requirement for precision. Measurements need to be exact to ensure the splashback fits properly, especially if there are sockets or other cut-outs involved. Applying the adhesive and aligning the splashback correctly also requires careful attention to detail.
- Handling: Glass splashbacks, especially larger ones, can be heavy and cumbersome to handle. Trying to position them accurately while managing their weight can be a bit difficult, particularly for a single person. Ideally, you'd have a second person to help hold and position the splashback.
- Safety: Working with glass necessitates care and safety precautions. There's always a risk of breakage or injury when handling glass, so it's important to use the proper safety equipment, like gloves and safety glasses.
- Preparation and Tools: Having the right tools and making the right preparations can make the installation process much easier. This includes a good quality adhesive, a caulking gun, a level, and potentially suction cup handles for larger splashbacks.
Overall, while it's certainly possible for a homeowner to install a glass kitchen splashback, it's not a task to be undertaken lightly.
It might be worth considering hiring a professional if you're not confident in your DIY skills or if you have a particularly large or complex splashback to install.
Related Post: Do You Need A Splashback Behind A CookerAdvice from an Expert Kitchen Fitter and Manufacturer
From my decades of experience as a kitchen fitter and manufacturer, I can say that fitting a glass splashback is a task that requires a precise set of skills.
The process involves careful measuring of the area, prepping the wall, applying the adhesive, positioning the splashback accurately, and sealing it neatly.
Each step must be executed with precision to ensure that the splashback is not only secure and functional but also aesthetically pleasing.
Even small errors in measurement or placement can lead to visible imperfections or even the need for costly replacement of materials.
One of the most critical steps is the measuring process.
It's not just about measuring the wall's dimensions, but also considering the cut-outs for any sockets or switches.
These need to be measured to the millimetre to ensure a perfect fit.
Mistakes at this stage can lead to a poorly fitting splashback or even the need to order a new piece of glass, which can be costly and time-consuming.
Then there's the matter of handling the glass splashback itself.
These pieces can be quite heavy and awkward to maneuver, and, of course, there's always the risk of breakage.
Without the right equipment and experience, there's also the potential for personal injury.
For these reasons, unless you're skilled and confident in your DIY abilities, you might find that fitting a glass splashback is a task best left to professionals.
A seasoned expert will have the skills, experience, and tools necessary to ensure a perfect fit and finish, saving you time and potential hassle.
Final Notes on How To Fit Glass Splashbacks to Walls
So, we have walked through the steps to fit a glass splashback to your kitchen wall, highlighting the importance of accurate measurements, careful handling of the glass, and precise application of adhesive.
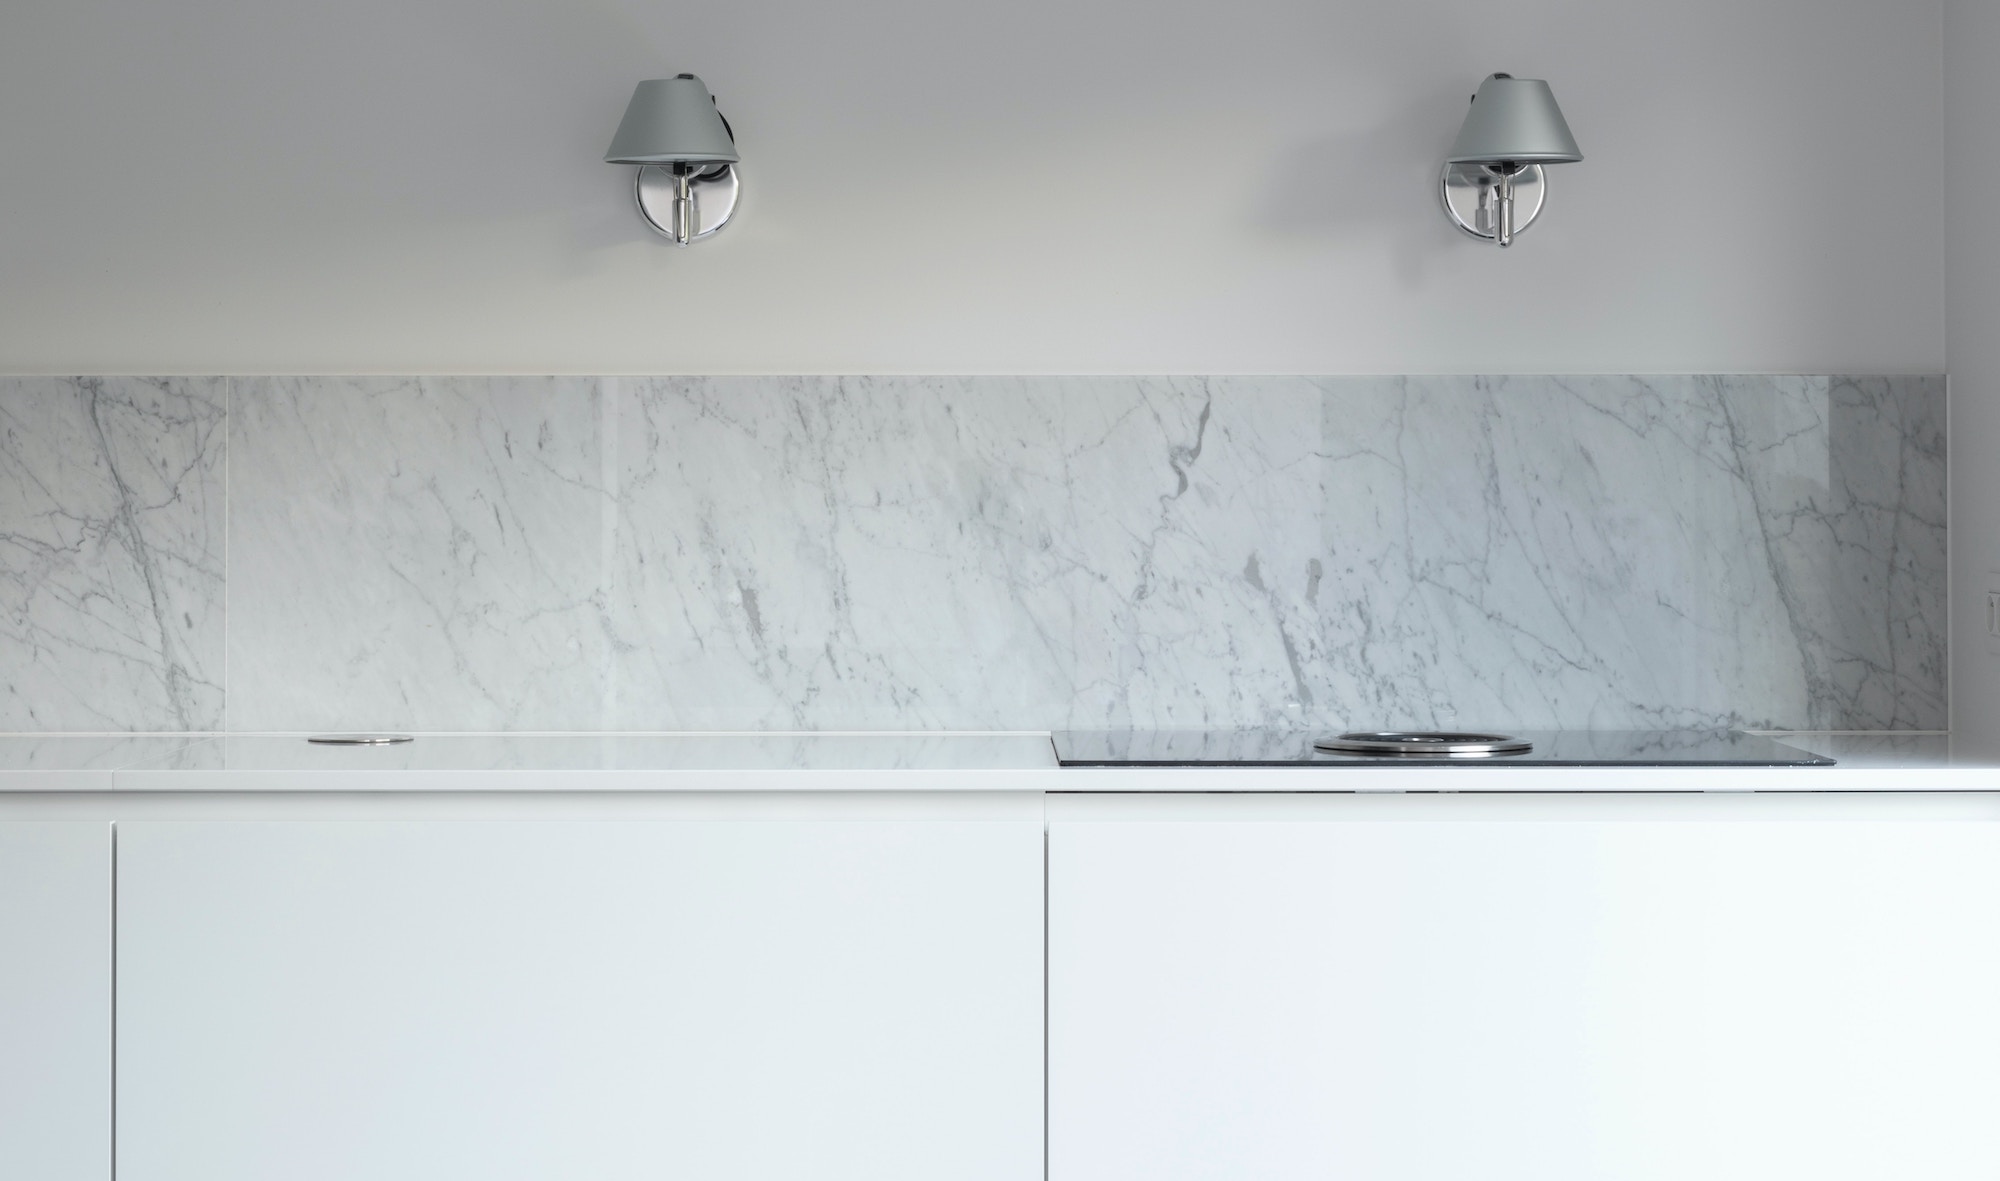
A well-installed glass splashback can add a sleek, modern touch to any kitchen, marrying style with practicality.
However, the installation process does require a certain level of skill, careful attention to detail, and the right tools.
You must consider the precision required for measurement, the safe handling of the glass, and the finesse needed for a neat finish.
Mistakes can lead to visible flaws, or worse, the need to replace an expensive piece of custom-cut glass.
Fitting a glass splashback is a feasible DIY project for the experienced and confident, but it's also a task where professional fitting can be a worthy investment.

