
How To Cut An Acrylic Splashback
Whether you're tackling a kitchen renovation, fitting a new bathroom splashback, or simply adapting a pre-existing one, knowing how to precisely cut an acrylic splashback can be a useful skill.
As versatile and aesthetically pleasing as it is, acrylic can also be quite tricky to work with.
In this post, we'll guide you through the process step-by-step, detailing the tools you'll need and the best practices to follow, ensuring you achieve a neat, professional finish on your acrylic splashback.
Click here to see our range of aluminium splashbacks from Alusplash.
How to Cut an Acrylic Splashback Step-by-Step
Sure, here's a step-by-step guide on how to cut an acrylic splashback:
Materials Needed:
- Acrylic sheet
- Measuring tape or ruler
- Clamps
- Pencil or marker
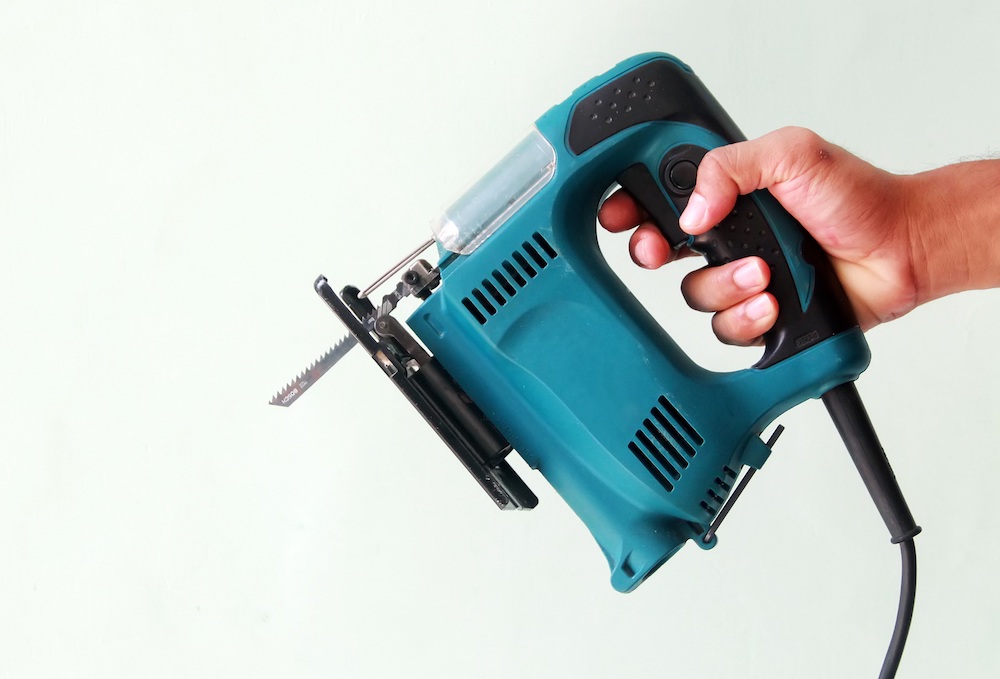
- Jigsaw or circular saw with a blade suitable for cutting acrylic
- Sandpaper (220 grit)
- Safety glasses and gloves
Step 1: Measure and Mark
First, measure the exact dimensions that you want your acrylic splashback to be.
Once you've made sure your measurements are correct, mark the acrylic sheet using a pencil or a marker.
Be sure to mark on the side of the acrylic that has the protective film to prevent any unwanted scratches.
Step 2: Secure the Acrylic Sheet
Once you have made your markings, use clamps to securely fasten the acrylic sheet to your workbench.
Ensure that the section you will cut is overhanging from the edge of the workbench, so you don't accidentally cut into it.
Step 3: Safety Measures
Before you start cutting, make sure to wear your safety glasses and gloves.
Acrylic sheets can sometimes splinter when being cut, and these safety measures are essential to protect your eyes and hands.
Related Post: What Are Splashbacks In Kitchens
Step 4: Cutting the Acrylic
Use a jigsaw or a circular saw with a blade suitable for cutting acrylic.
The blade should have fine teeth to ensure a smooth cut.
Carefully cut along the line you've marked, taking care not to force the saw but rather let it cut at its own pace.
Rushing could lead to the acrylic chipping or breaking.
Step 5: Smoothen the Edges
After cutting the acrylic, there may be some rough edges.
Use 220 grit sandpaper to smooth these out.
Be sure to move the sandpaper in one direction rather than back and forth to avoid scratching the surface.
Step 6: Clean the Acrylic Sheet
Once you're done cutting and smoothing the edges, remove the protective film and clean your newly cut acrylic splashback with a soft cloth and a suitable cleaner.
Remember, cutting acrylic splashback can be a delicate task. It requires patience, precision, and the right safety measures.
If you're not confident with your ability to cut it properly, you might want to consider hiring a professional to do it for you to prevent any damage or accidents.
Also, bear in mind that acrylic sheets are sensitive to heat and can scratch easily, so handle with care throughout the process and store safely until you're ready to install the splashback.
Related Post: How To Remove A Glass Splashback Without Breaking It
Is it Safe to Cut an Acrylic Splashback Yourself?
Yes, it is safe to cut an acrylic splashback yourself, provided that you adhere to necessary safety guidelines and use the appropriate tools.
Here are a few important safety considerations to bear in mind:
- Personal Protective Equipment (PPE): Always use the proper personal protective equipment. This includes safety glasses to protect your eyes from any small fragments of acrylic that may fly off during cutting and gloves to protect your hands.
- Proper Tool Usage: Using the correct tools is critical for your safety and to ensure a clean cut. You should use a jigsaw or a circular saw with a fine-toothed blade that's designed for cutting acrylic or plastic. Using an incorrect or dull blade can increase the chance of the acrylic cracking or chipping, potentially causing injury.
- Safe Work Environment: Make sure your work environment is safe and clear of clutter. The acrylic sheet should be properly secured to prevent movement while cutting.
- Care with Handling: Handle the acrylic carefully to avoid injury. The edges of the cut acrylic can be sharp, so they need to be smoothed down with sandpaper after cutting.
- Heat Sensitivity: Acrylic sheets are sensitive to heat. When using power tools to cut acrylic, friction can produce heat, potentially causing the acrylic to melt or warp. It's important to cut slowly and let the saw do the work, rather than forcing it through the material quickly.
So, cutting an acrylic splashback yourself is a task that can be performed safely if you have the right tools, take the necessary precautions, and follow proper procedures.
However, if you're uncomfortable handling power tools or have any doubts about performing the task safely, it might be best to hire a professional or ask the supplier to cut the material to size for you.
Some Notes from an Expert Kitchen Fitter and Manufacturer
As a seasoned kitchen fitter and manufacturer, I have extensive experience working with various materials, including acrylic splashbacks.
Acrylic has become a popular choice for splashbacks due to its affordability, lightweight nature, and the wide range of designs and colours available.
But when it comes to cutting it, there are a few key points to bear in mind.
Firstly, precision is critical.
Acrylic may be a more forgiving material than glass or some types of stone, but mistakes can still lead to unnecessary costs and delays in your project.
It's always worthwhile to take extra time to double-check your measurements before making any cuts.
Secondly, the choice of tools is essential.
Different tools are required for different jobs, and when it comes to cutting acrylic, using the right tool can mean the difference between a clean, easy cut and a jagged, melted edge.
Specifically designed blades for acrylic material used with power tools like jigsaws or circular saws can make the job much more manageable.
Safety is another important consideration.
Cutting acrylic, like any DIY task, can pose risks if not done correctly.
You should always use personal protective equipment, such as safety goggles and gloves, and ensure you're working in a clear, well-lit space.
Acrylic sheets can have sharp edges after cutting, so always handle with care.
Furthermore, while acrylic doesn't shatter like glass, it can chip or crack if not handled correctly.
Gentle and steady is the key to cutting, rushing or forcing the cut can lead to errors and potential material damage.
Final Notes On How to Cut an Acrylic Splashback
In wrapping up, it's clear that cutting an acrylic splashback, while not without its challenges, is a task that can be tackled by a well-prepared and careful DIY enthusiast.
However, it is crucial to remember that it requires patience, precision, and an understanding of how to handle and work with acrylic safely.
The step-by-step guide provided in this post, along with the expert advice from an experienced kitchen fitter, aims to equip you with the essential knowledge and confidence to carry out this task.
The key aspects to remember are accurate measurements, the correct use of tools, and safety precautions.
Nevertheless, remember that it's absolutely fine if you don't feel comfortable taking on this task yourself.
Professionals are there for a reason - they have the expertise, experience, and tools to do the job efficiently and safely, ensuring a high-quality result.
So, whether you decide to DIY or hire a professional, here's to a successful installation of your new acrylic splashback!
It's sure to bring a fresh new look to your kitchen or bathroom space.

